
phpMyAdmin is a popular web-based tool for managing MySQL databases. It provides a graphical interface that simplifies complex database management tasks, making it ideal for users who aren’t comfortable working directly with the MySQL command line. cPanel, one of the most commonly used control panels for web hosting, offers easy access to phpMyAdmin, allowing users to perform essential database operations such as creating, editing, and deleting databases and tables.
In this guide, we’ll cover everything you need to know about accessing phpMyAdmin in cPanel. We’ll also walk through some basic tasks, such as managing databases and importing/exporting data.
Table of Contents
Why Use phpMyAdmin?
phpMyAdmin offers several benefits:
- User-friendly Interface: Unlike managing databases via command-line, phpMyAdmin provides a simple graphical interface that requires minimal technical knowledge.
- Accessibility: As a web-based tool, phpMyAdmin can be accessed from any browser, allowing you to manage databases from anywhere.
- Full MySQL Control: From creating new databases to executing SQL queries, phpMyAdmin provides full access to all MySQL features.
- Database Management: It allows users to handle administrative tasks such as database backups, restores, and performance optimizations.
- Multi-user Support: phpMyAdmin allows different levels of access for users, making it perfect for collaborative environments.
Pre-requisites
Before accessing phpMyAdmin in cPanel, you should ensure the following:
- Access to cPanel: You need to have access to cPanel for your web hosting account.
- MySQL Database Setup: phpMyAdmin is used to manage MySQL databases, so ensure that you have at least one database set up.
How to Access phpMyAdmin in cPanel: Step-by-Step
Here’s a detailed guide on how to access phpMyAdmin in cPanel.
Step 1: Log into cPanel
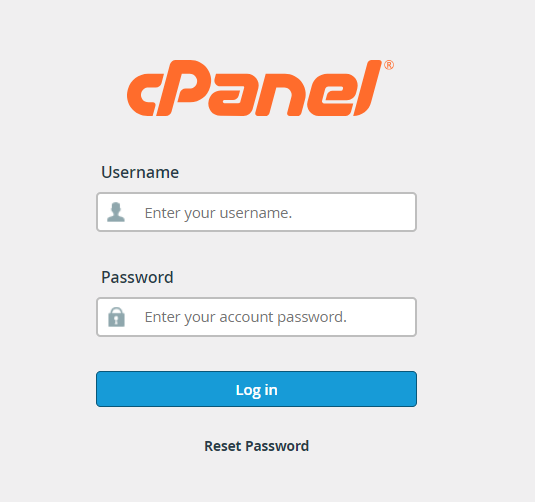
To access phpMyAdmin, the first thing you need to do is log into your cPanel account. Follow these steps:
- Open your web browser and navigate to your hosting provider’s cPanel login page. You can typically access cPanel by typing
https://yourdomain.com/cpanelorhttps://yourdomain.com:2083in your browser’s address bar. - Enter your cPanel username and password, then click the “Log in” button.
Once you’ve successfully logged in, you will be greeted by the cPanel dashboard.
Step 2: Locate the Databases Section
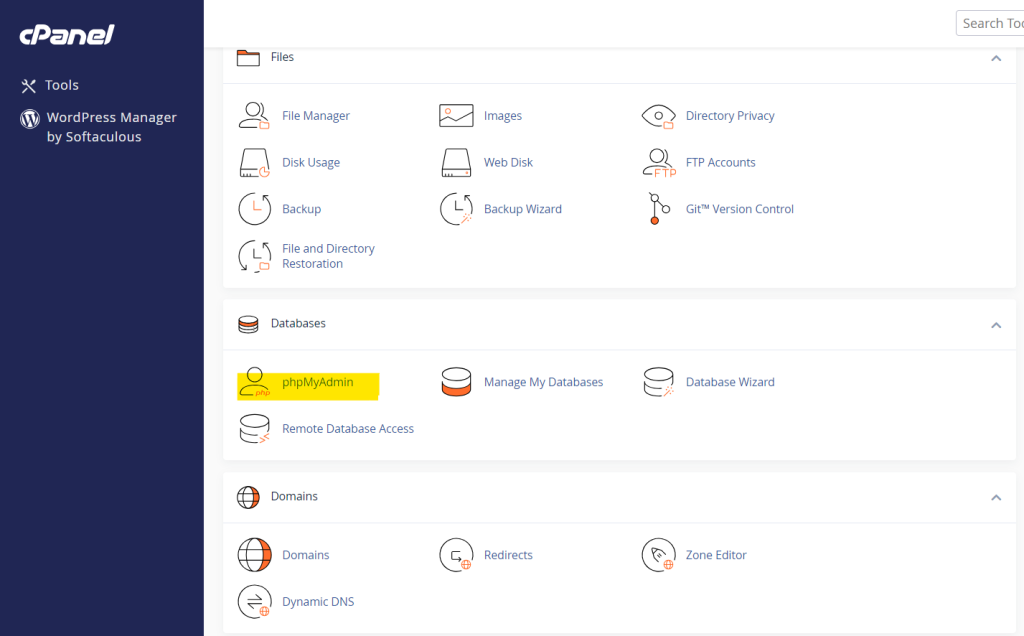
After logging in, you’ll be presented with several sections and icons within the cPanel interface. To find phpMyAdmin:
- Scroll down to the Databases section. This section handles all things related to MySQL databases.
- In this section, look for the phpMyAdmin icon. The phpMyAdmin icon is usually located at the top of this section and can be easily recognized.
Step 3: Launch phpMyAdmin
Once you’ve located the phpMyAdmin icon:
- Click on the phpMyAdmin icon.
- A new tab or window will open with the phpMyAdmin interface. This interface is the gateway to managing your MySQL databases.
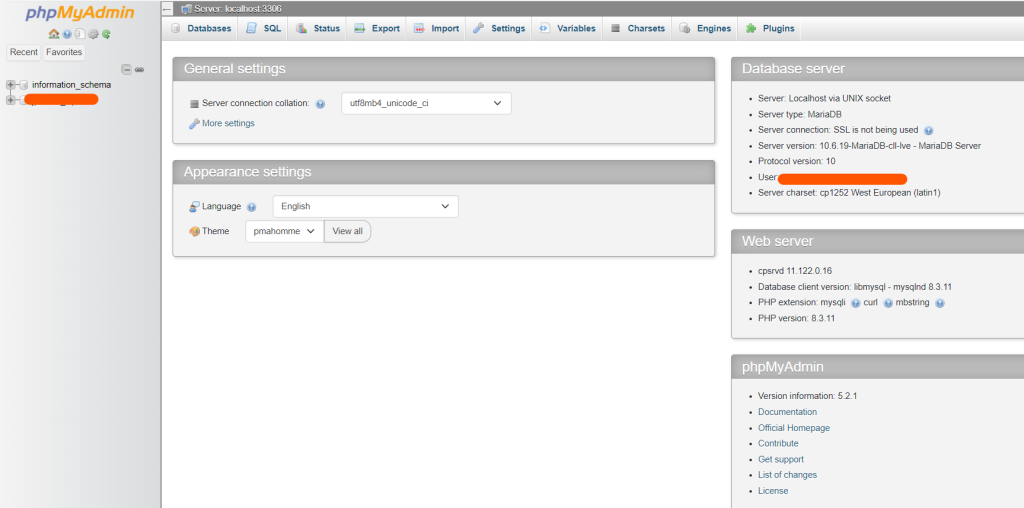
phpMyAdmin loads up the main dashboard where you can view all the databases associated with your cPanel account.
Step 4: Select the Database to Manage
Upon accessing the phpMyAdmin interface, you’ll see a list of all the databases under your cPanel account on the left-hand side panel.
- Click on the database you want to manage. If you’re unsure which database to choose, consult your website’s configuration files (such as
wp-config.phpfor WordPress orconfig.phpfor other CMS). - Once you’ve clicked on a database, the right-hand panel will display all the tables and options related to that database.
Common Tasks in phpMyAdmin
Now that you’ve accessed phpMyAdmin, let’s look at some common tasks you can perform within the interface.
1. Creating a New Database
While phpMyAdmin is primarily used for managing existing databases, you can also create new databases if needed.
- In the phpMyAdmin dashboard, click on the Database tab at the top.
- Enter a name for your new database in the field provided.
- Choose the appropriate collation settings, which define how the database handles character sets and comparisons.
- Click Create.
Your new database will appear in the list on the left panel. However, note that users and permissions need to be configured in cPanel’s MySQL Databases section.
2. Managing Tables
Tables are where the actual data in your database is stored. In phpMyAdmin, you can create, modify, and delete tables.
- To create a new table, select a database from the left panel, and click the Structure tab.
- At the bottom, you’ll see the option to create a new table. Enter a name for the table and specify the number of columns.
- After creating the table, you can edit the table structure by clicking Structure next to the table’s name, which allows you to add, modify, or remove columns.
3. Importing Data
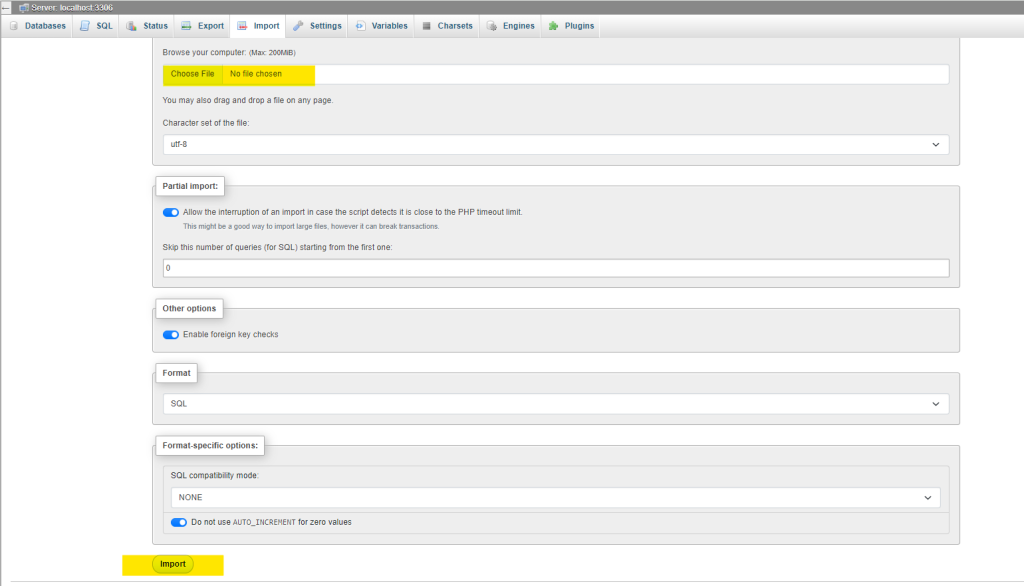
You may need to import data into your database from another source, such as a backup or a CSV file. Here’s how to do it:
- In phpMyAdmin, select the database you want to import data into.
- Click the Import tab at the top of the screen.
- Use the Choose File button to locate the file you wish to import (SQL, CSV, etc.).
- Configure the import settings as necessary, and click Go to begin the import.
4. Exporting Data
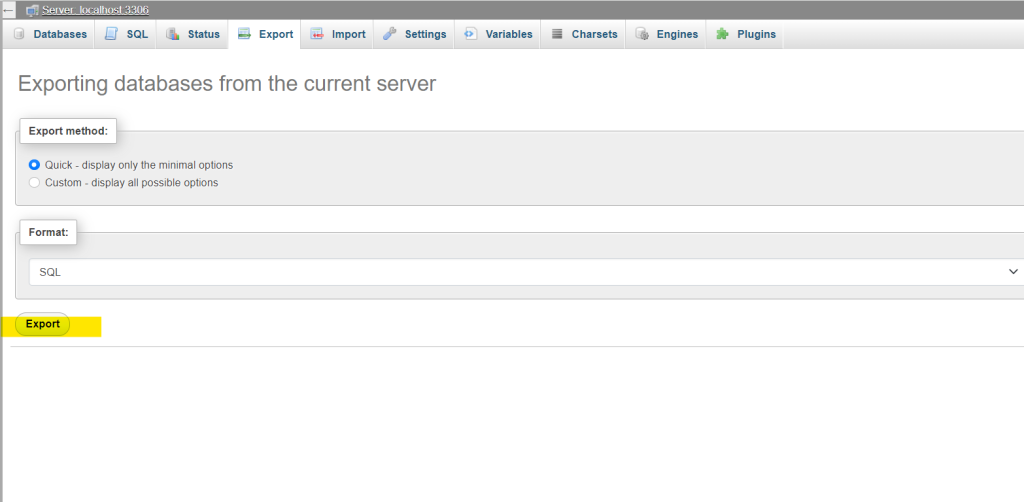
Exporting your database is essential when creating backups or migrating your data to another server.
- To export a database, select the database you wish to export from the left panel.
- Click the Export tab at the top of the screen.
- Choose either the Quick or Custom export options. The Quick option is recommended for basic exports, while Custom allows you to choose specific tables and settings.
- Choose the format of the export (commonly SQL) and click Go.
The database export will begin, and the file will download to your local machine.
5. Executing SQL Queries
For advanced users, phpMyAdmin allows you to execute SQL queries directly. This is useful for performing complex tasks that aren’t supported by the graphical interface.
- Select the database you want to query.
- Click on the SQL tab.
- Enter your SQL query in the text area and click Go.
phpMyAdmin will display the results of your query and indicate whether the query was successful.
6. Deleting a Database
If you no longer need a database, you can delete it using phpMyAdmin.
- In the phpMyAdmin interface, select the database you want to delete.
- Click the Operations tab at the top.
- Scroll down and click Drop the database. You will be asked to confirm this action. Be careful as this action cannot be undone.
Tips for Managing Databases in phpMyAdmin
- Backup Regularly: Always make backups of your databases before making significant changes, especially before deleting tables or executing complex SQL queries.
- Use Transactions: If you are performing a complex series of SQL queries, consider using transactions to ensure data consistency.
- Optimize Tables: Over time, database tables can become fragmented. Use the Optimize Table option in phpMyAdmin to defragment and improve performance.
Conclusion
phpMyAdmin is an incredibly powerful tool that provides a user-friendly interface for managing MySQL databases. Whether you’re an advanced user executing complex queries or a beginner just managing tables and importing data, phpMyAdmin makes the process intuitive and efficient. With the easy access provided by cPanel, managing your website’s databases has never been simpler.
By following the steps in this guide, you can quickly access phpMyAdmin in cPanel and start managing your databases with confidence. Remember to perform regular backups and keep your database optimized for the best performance.