
Managing DNS (Domain Name System) records can be a critical aspect of managing your website, especially if you’re hosting multiple domains or subdomains. cPanel, a popular web hosting control panel, provides a convenient tool called Zone Editor that simplifies the process of managing DNS records. This blog post will dive deep into the uses of Zone Editor in cPanel and guide you through its functionalities.
Table of Contents
What is the Zone Editor in cPanel?
The Zone Editor is a built-in tool in cPanel that allows you to manage DNS records for domains hosted on your server. DNS records are essential as they map domain names to IP addresses, enabling users to access websites by typing in a domain name rather than an IP address.
cPanel’s Zone Editor lets you:
- Add, edit, and delete DNS records.
- Create new A, CNAME, and MX records.
- Manage advanced DNS settings.
Why Use the Zone Editor?
If you own or manage a website, understanding how to use the Zone Editor can help you with the following:
- Customizing DNS settings: For domain forwarding, email routing, or server management.
- Improving website performance: By optimizing DNS records.
- Enabling services like email or subdomains: By managing MX or CNAME records.
Key Features of Zone Editor
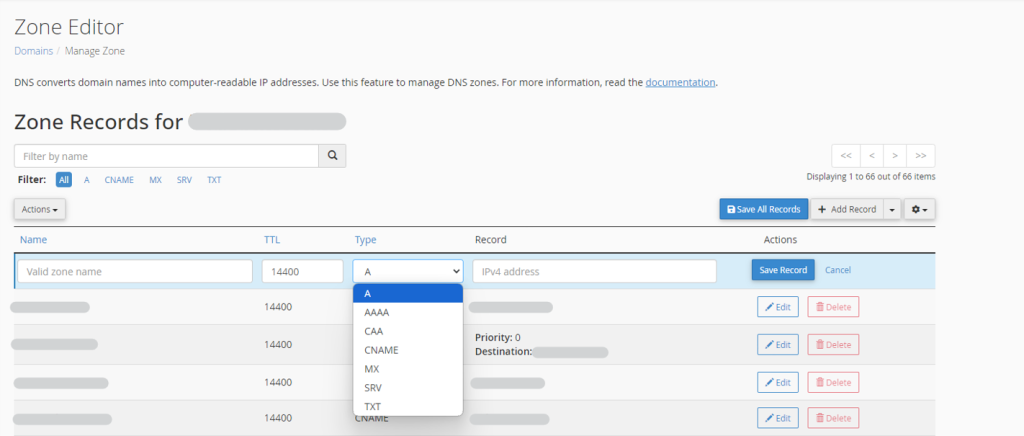
- Adding and Modifying DNS Records Zone Editor allows you to create different types of DNS records, such as A, AAAA, CNAME, and MX records. Let’s take a look at some of these:
- A Record: This points your domain or subdomain to an IP address. If you change your hosting provider, you can update the A record to point your domain to the new server’s IP.
- AAAA Record: Similar to the A record but supports IPv6 addresses.
- CNAME Record: Used to alias one domain to another. This is particularly helpful when you want to redirect subdomains.
- MX Record: Specifies how email messages should be routed by associating your domain with a mail server.
- Editing and Removing Records You can easily edit or remove existing DNS records. This is especially useful when you switch web hosts, need to change mail servers, or make other updates to your domain configuration.
- Managing Subdomains Using this option, you can easily manage the DNS settings for subdomains. For instance, if you create a subdomain like blog.yourdomain.com, you can control how it points to different IP addresses or servers.
- Email Routing If you use custom email services, you may need to manage your MX records. The Zone Editor lets you add or modify MX records to direct mail to the appropriate email server.
- CNAME Records for CDN Services Many content delivery networks (CDNs) use CNAME records to direct traffic to their servers. It makes it simple to add or modify CNAME records for services like Cloudflare or Amazon CloudFront.
How to Access the Zone Editor in cPanel?
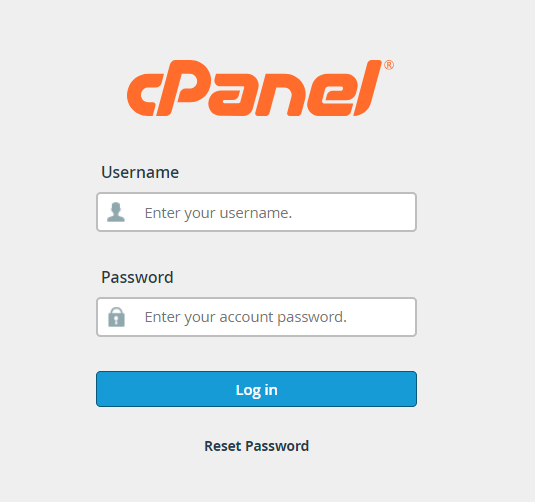
Login to cPanel Begin by logging into your cPanel dashboard.
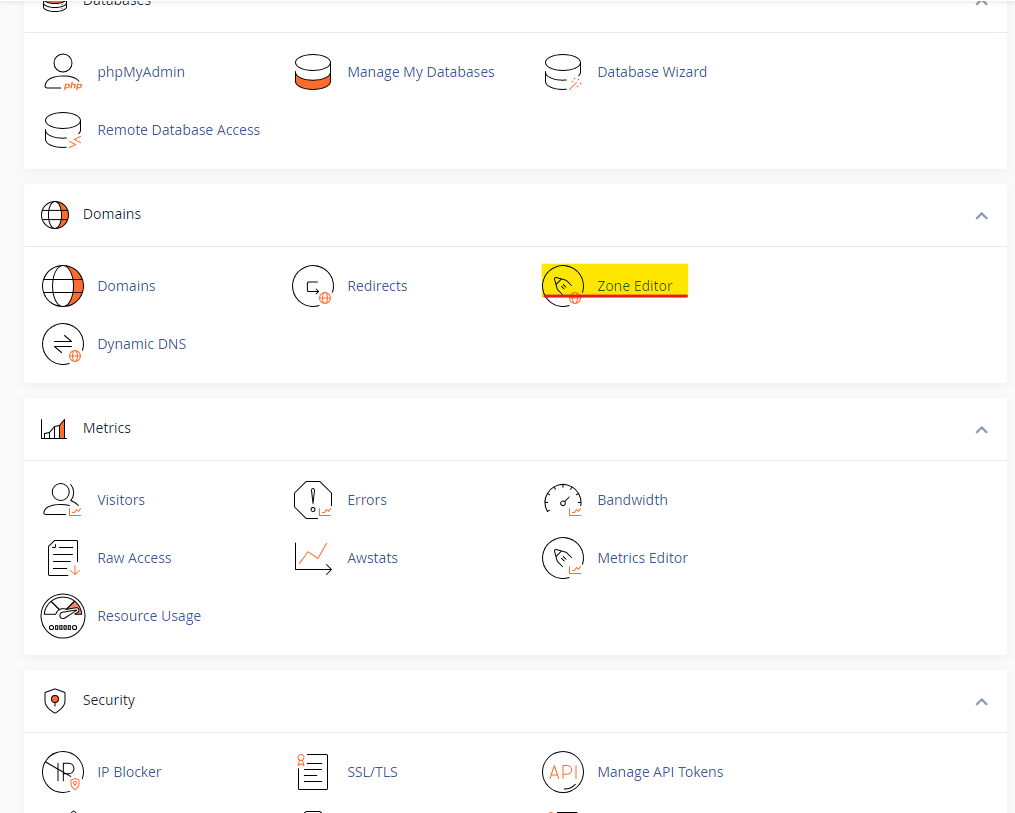
Find the Zone Editor Once you’re logged in, locate the Zone Editor under the Domains section of the cPanel interface.
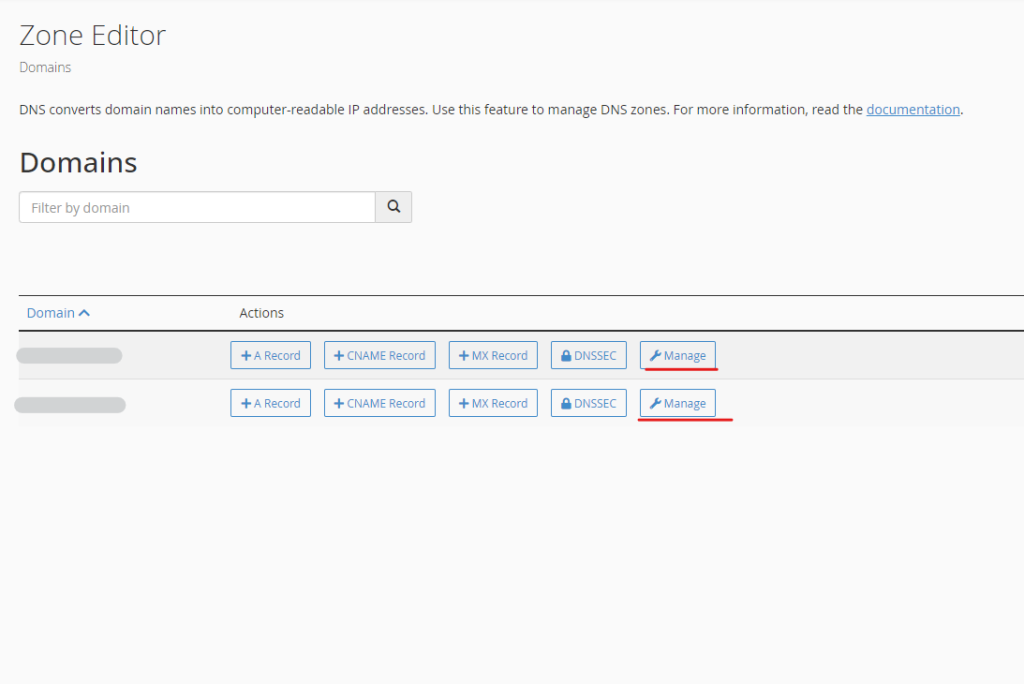
Select the Domain After opening the Zone Editor, you’ll see a list of all the domains hosted on your cPanel account. Click on the Manage button next to the domain you want to configure.
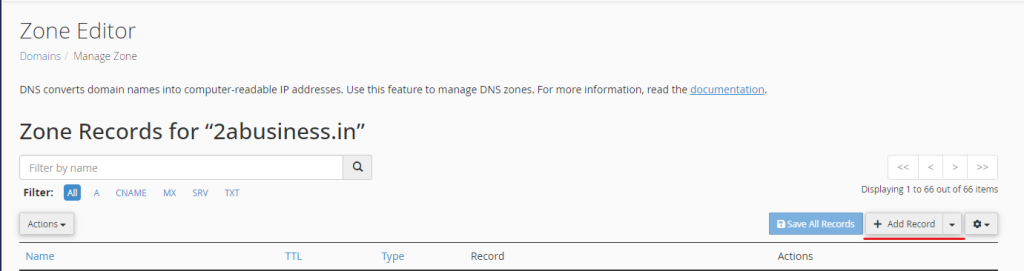
Manage DNS Records From here, you can add, edit, or delete DNS records for the selected domain.
How to Add DNS Records Using Zone Editor?
Here’s how to add the most commonly used DNS records:
Adding an A Record
- Click on the A Record button.
- Enter the name of the record, such as www.yourdomain.com.
- Input the IP address of your server.
- Click Add Record.
Adding a CNAME Record
- Click on the CNAME Record button.
- Enter the alias or subdomain (e.g., blog.yourdomain.com).
- Provide the target domain (e.g., yourdomain.com or another domain you are pointing to).
- Click Add Record.
Adding an MX Record
- Click on MX Record.
- In the Priority field, set the priority (a lower number means higher priority).
- Enter the Destination, which is the mail server address.
- Click Add Record.
Best Practices for Using the Zone Editor
- Double-check records before saving: Mistakes in DNS records can cause website downtime or email delivery issues.
- Keep a backup: Before making any major changes to DNS records, make a note of the current settings.
- Use TTL wisely: The Time to Live (TTL) field determines how long a DNS record is cached. For frequently changing records, set a lower TTL.
Troubleshooting Common DNS Issues
- Website Not Loading: If your website isn’t loading, ensure that your A record is correctly pointing to the server’s IP address.
- Email Not Delivered: Problems with email delivery can often be traced back to incorrect MX records. Double-check these settings.
- Changes Not Taking Effect: DNS changes can take up to 48 hours to propagate. Be patient and monitor the DNS propagation progress using online tools like DNS Checker.
Conclusion
The Zone Editor in cPanel is a powerful tool that simplifies DNS management for your domain. Whether you need to update an A record, add a CNAME for subdomains, or manage MX records for email routing, makes it easy to keep your DNS settings optimized and up to date. By learning to manage these records effectively, you can ensure your website’s uptime, improve performance, and route emails without any hassle.
For any website owner or administrator, knowing how to use it in cPanel is an essential skill that can help you maintain control over your domain’s DNS settings.