

Ubuntu 22.04 is a powerful and stable version of the Linux operating system, ideal for both servers and desktop environments. For server management, SSH (Secure Shell) is commonly used to access and control remote servers. After installing Ubuntu 22.04 on a server, it’s essential to perform some basic setup tasks to ensure the system is secure, up-to-date, and configured correctly.
This guide will walk you through the basic setup of Ubuntu 22.04 OS via SSH.
Table of Contents
Prerequisites
Before starting, you need:
- Access to the server with Ubuntu 22.04 installed.
- SSH access to the server (usually done via terminal on Linux/Mac or using an SSH client like PuTTY on Windows).
- A stable internet connection.
Step 1: Connecting to Your Ubuntu 22.04 Server via SSH
To connect to your Ubuntu server, you need the server’s IP address and SSH credentials (username and password or private key).
Connecting from Linux/Mac Terminal
- Open a terminal window.
- Use the following command to connect via SSH:
ssh username@server_ip_address
Replace username with your actual username on the server and server_ip_address with the IP address of the server. - Enter your password or the private key to log in.
Connecting from Windows Using PuTTY
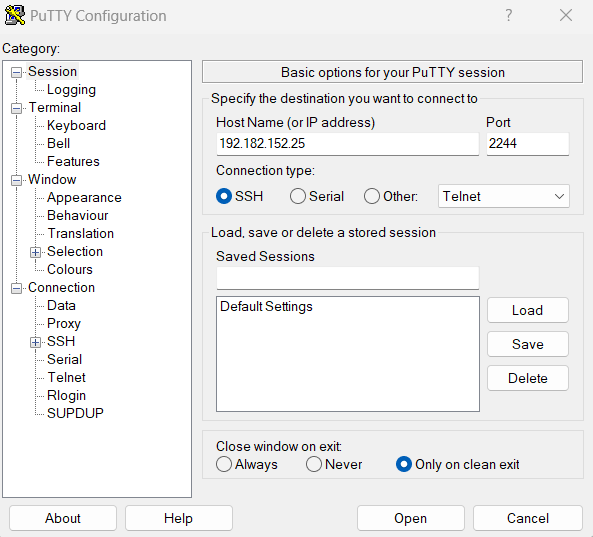
- Download and install PuTTY.
- Open PuTTY and enter the server IP address.
- Click Open and log in using your username and password.
Step 2: Update and Upgrade the System
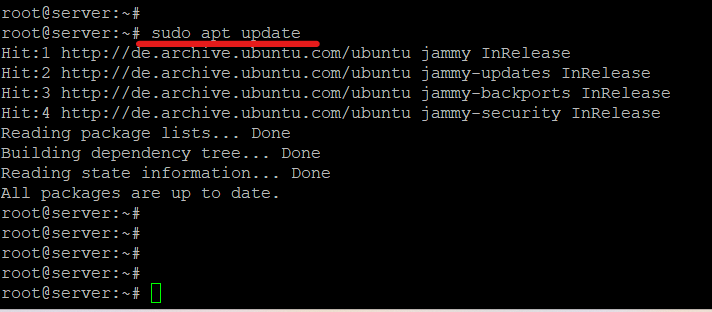
After logging in via SSH, the first thing you should do is update the package lists and upgrade the system to ensure that all software is up-to-date.
Update the package lists:
sudo apt update
Upgrade the installed packages:
sudo apt upgrade -y
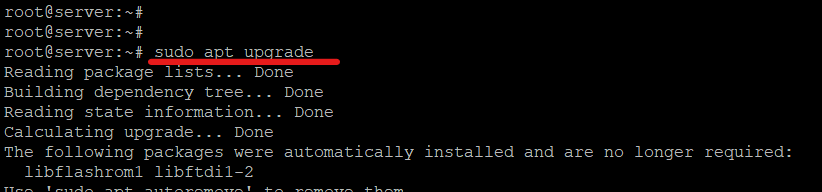
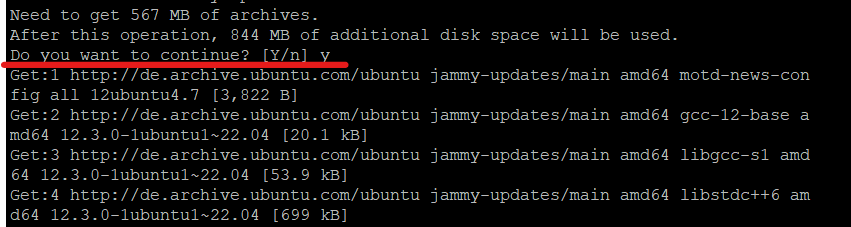
This command will upgrade all installed packages to the latest available versions.
Step 3: Set the Timezone
Setting the correct timezone ensures accurate log timestamps and scheduling.
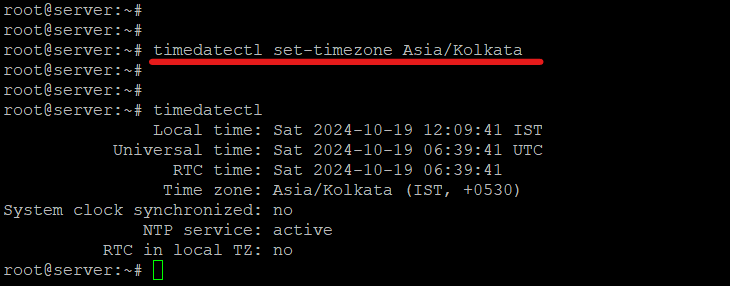
- Check the current timezone:
timedatectl - To change the timezone, use the following command:
sudo timedatectl set-timezone Region/City
ReplaceRegion/Citywith your desired location, for example:
sudo timedatectl set-timezone Asia/Kolkata
Step 4: Update Your SSH Client Configuration
If you frequently connect to the server, you can configure your SSH client to use the new port automatically.
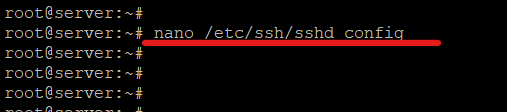
Edit the SSH client configuration file:
nano /etc/ssh/sshd_config
Add the following lines to specify the new port for your server:
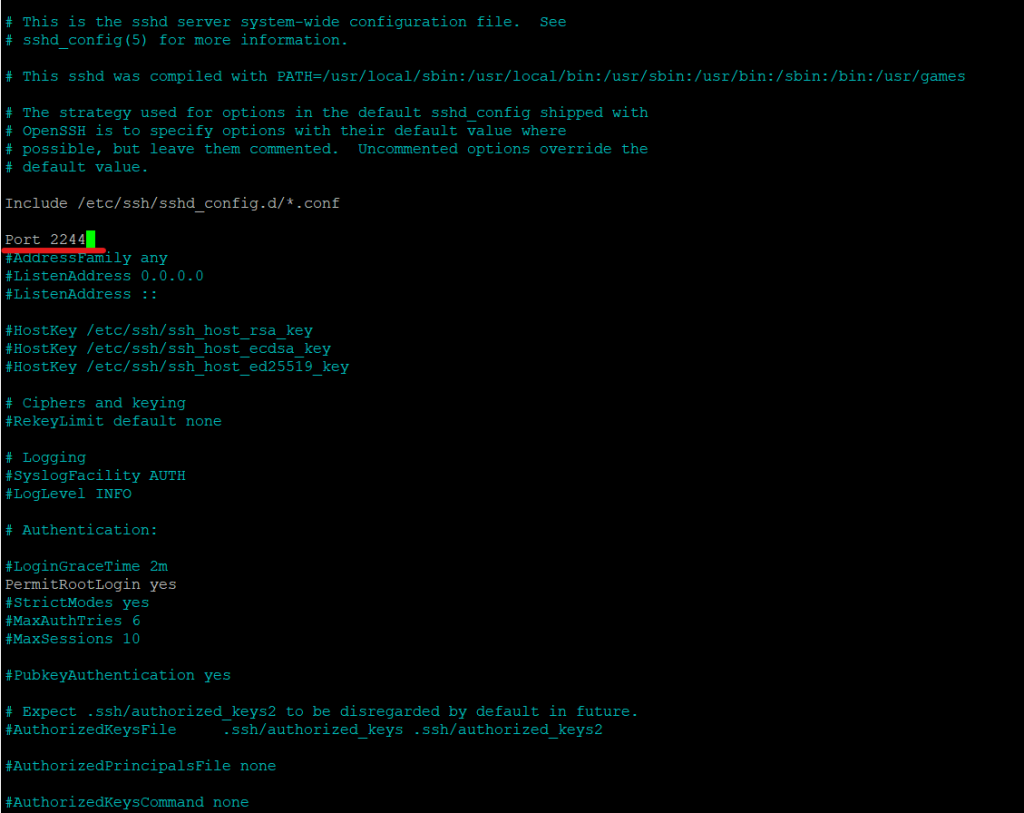
Include /etc/ssh/sshd_config.d/*.conf
Port 2244
AddressFamily any
ListenAddress 0.0.0.0
ListenAddress ::

Save and exit. After you can restart the sshd service. Now, whenever you connect to this server, it will automatically use the new port.
Step 5: Reboot the Server (Optional)
After performing the above steps, you might want to reboot the server to ensure all configurations are properly applied.

reboot
Conclusion
Setting up a basic Ubuntu 22.04 server via SSH is essential for ensuring the server’s security and performance. By updating the system, creating a non-root user, securing SSH, enabling the firewall, and installing necessary packages, you’ll have a robust and secure server ready for hosting applications.
Following this guide will ensure your Ubuntu 22.04 server is correctly configured and ready for production use. Always remember to maintain regular security checks, backups, and software updates to keep your server running smoothly.